Fluid Model Development - Getting Started
PVT Data Digitalization
The following sections will require that you have access to some PVT data. The examples used throughout the following sections will be based on the compositional and PVT data provided for the Volve (found here) and Duvernay (found here) datasets.
If this is your first time using whitsonPVT, we recommend that you use these datasets as well, but you should also feel free to try and use some of your own data as well! If you have any questions, feel free to contact us at support.pvt@whitson.com!
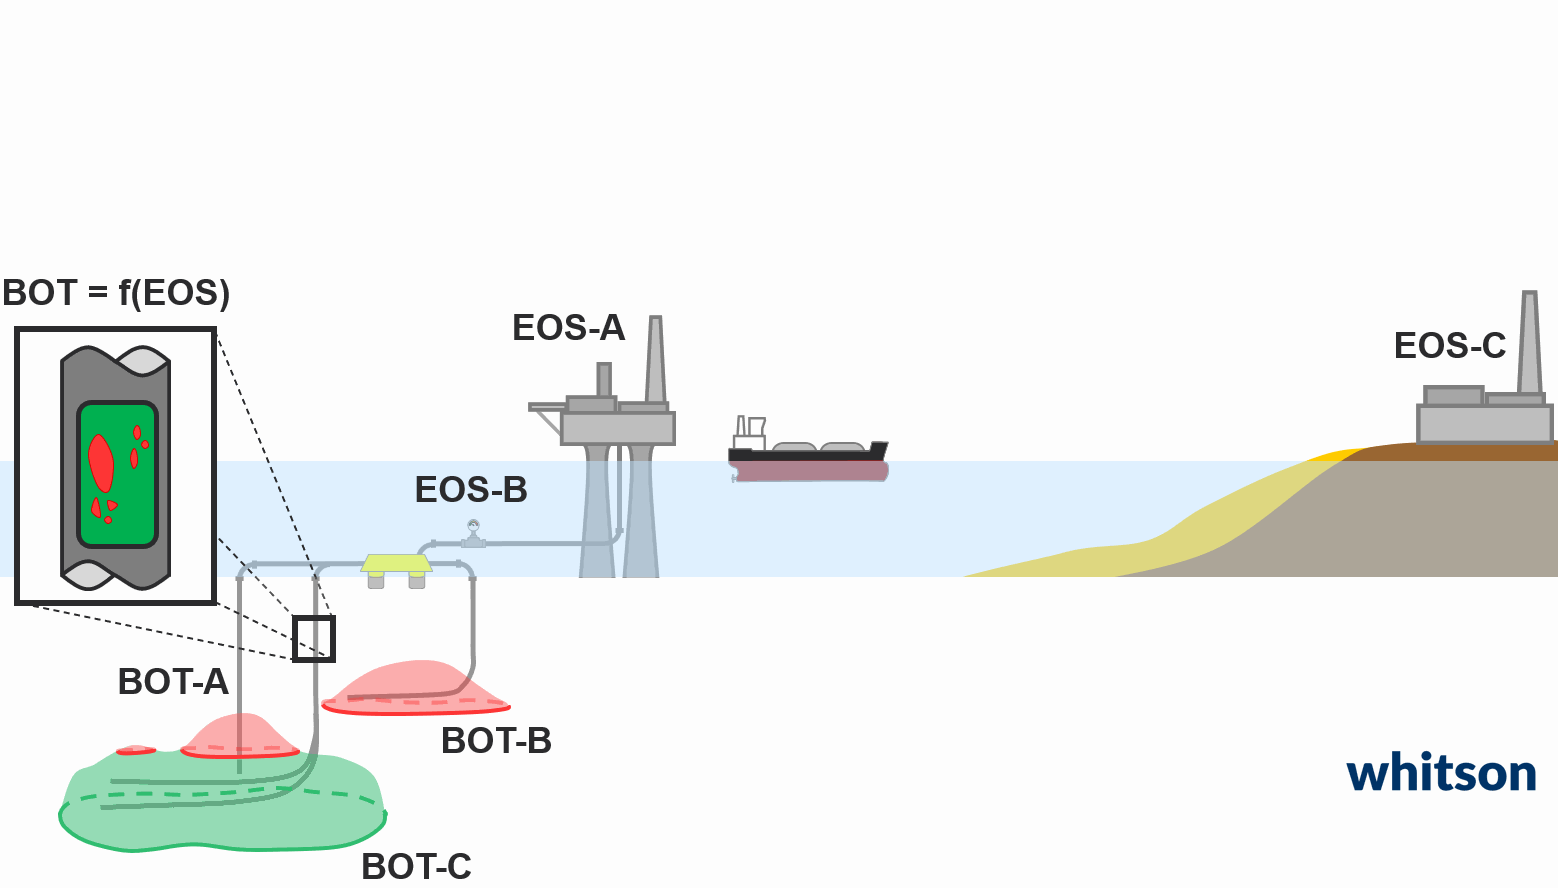
The first step to developing useful and accurate fluid models, is to first develop a detailed parent model, and then develop internally consistent child models from this parent model. An example of this is shown in the animation above! The main reason for this methodology is to create consistency between all the different models used throughout your network of production, from reservoir, to pipe-flow, to surface process!
This certification section focuses on the development of the detailed parent fluid model. This is divided into three main sections:
- C7+ characterization - Certification starts here.
- EOS parameter tuning and compositional adjustments - Certification starts here.
- Viscosity modeling - Certification starts here.
The three main output models that come from the fluid model development are shown in Figure 1, and will be covered in detail.
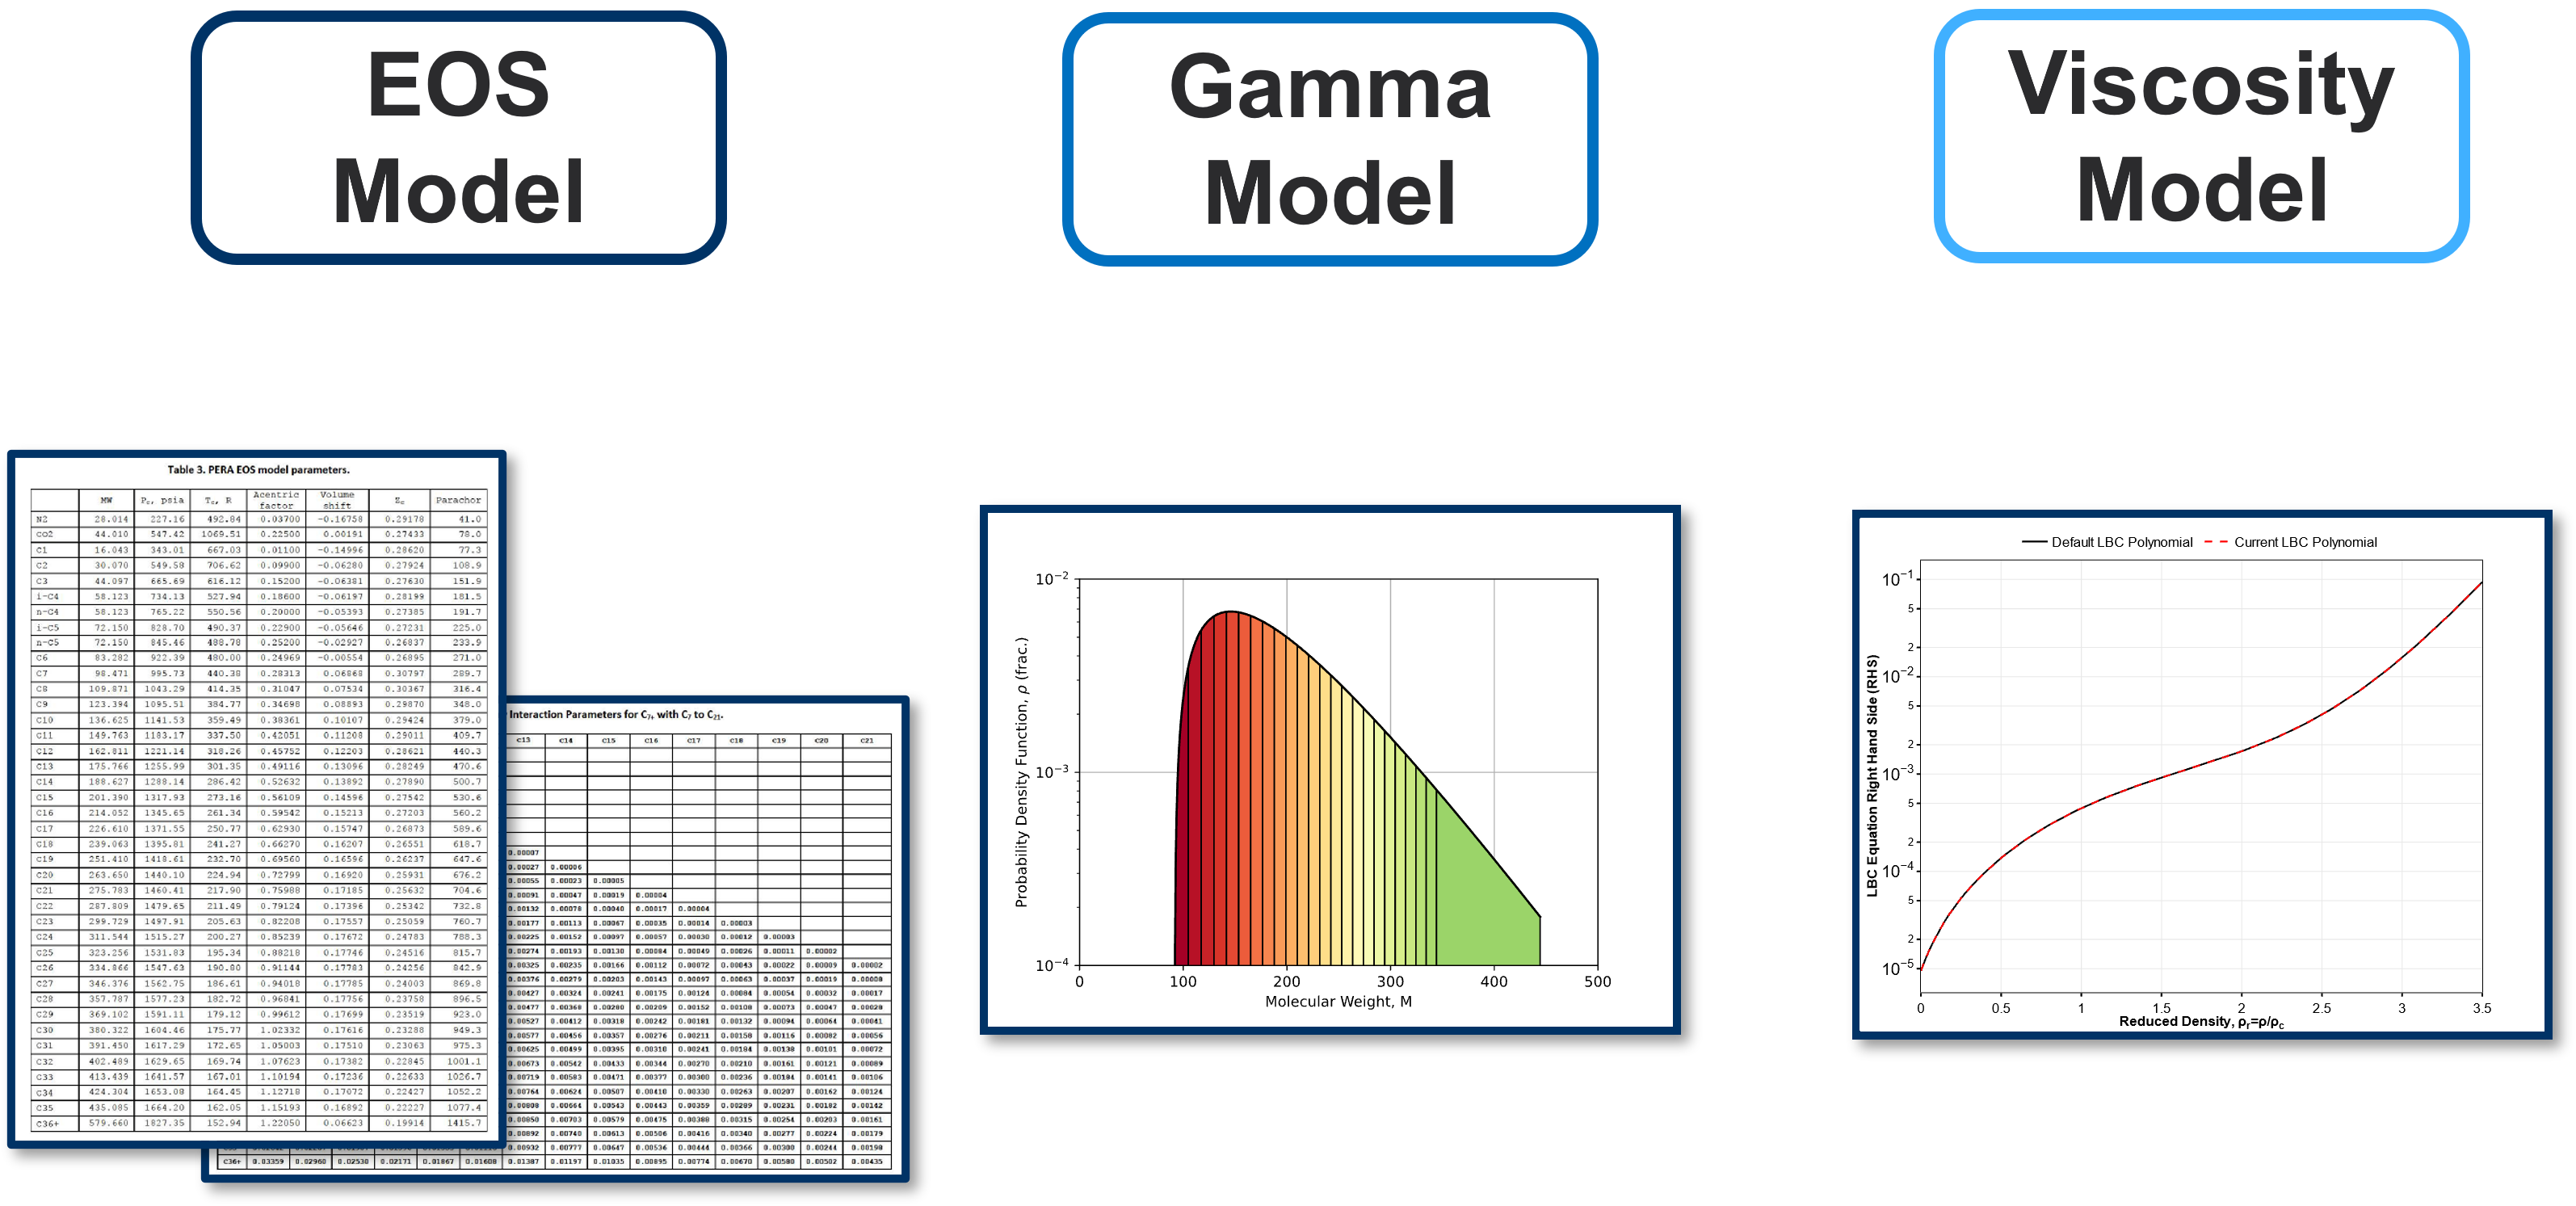
Figure 1: Three models that compose a detailed parent fluid model, namely the EOS model, gamma molar distribution model, and the viscosity model.
Once you're done with the different sections of this certification, you can get your certificate here!
Making Projects
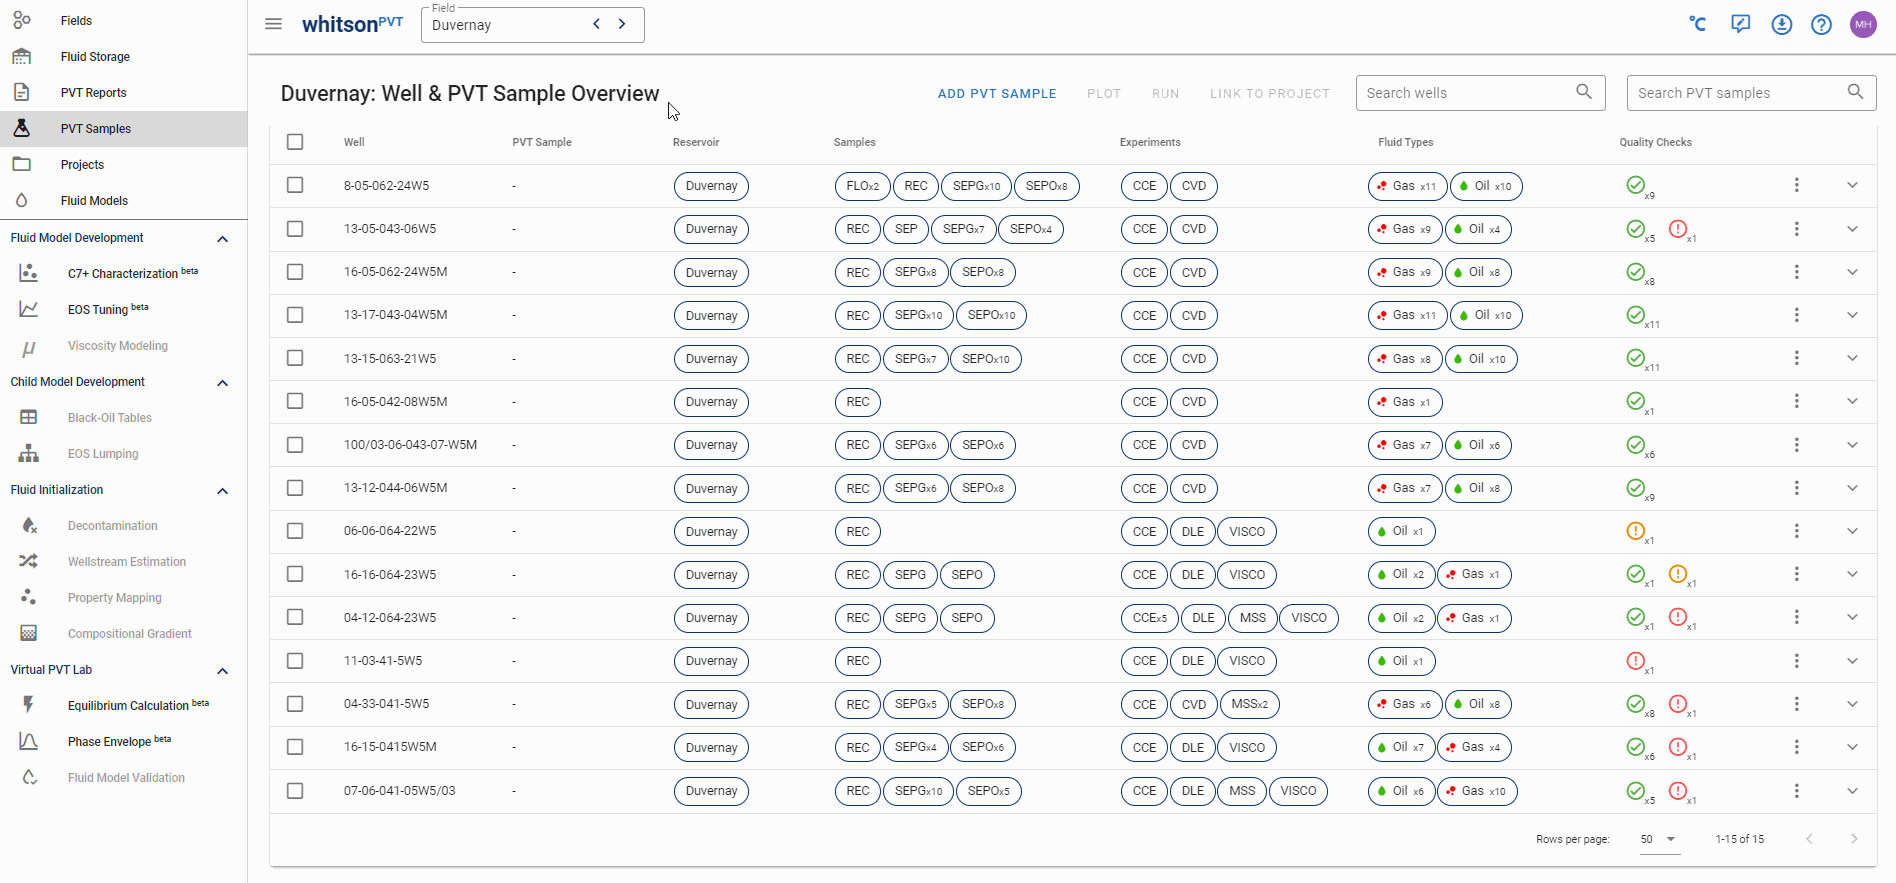
Fluid models are project specific, meaning that any fluid model (both imported and developed in whitsonPVT) are tied to a specific project. To make a prject you need to select a subset of samples from your PVT sample overview and clicking the Link To Project button. This is shown in the animation above. You can select induvidual samples, all samples in a well, or all samples in all wells. When adding samples to a project, you have two choices, either add them to a new project, or an already existing project. In the examples below, you will be adding new projects.
Example 1 - Sample CL-63169 (Duvernay) - Single Gas Sample
Want to navigate to a specific sample quickly?
If you know what sample you are looking for, you can use the searchbar in the top-right of the PVT Sample overview! An example of this is shown in the animation below.

Navigate to the sample named CL-63169, then add it to a project named Single-Gas-Sample.
Example 2 - Sample CL-70055 (Duvernay) - Single Oil Sample
Navigate to the sample named CL-70055, then add it to a project named Single-Oil-Sample.
Example 3 - Sample CL-70073 (Duvernay) - Single Oil Sample (multiple CCEs)
Navigate to the sample named CL-70073, then add it to a project named Single-Oil-Sample with Multi-CCEs.
Example 4 - Field-Wide Fluid Model (Volve Field)
Select all the wells with the reservoir tag indicating that it is coming from the Volve field, then add it to a project named Field-Wide Volve Data.
Example 5 - Basin-Wide Fluid Model (Duvernay Basin)
Select all the wells with the reservoir tag indicating that it is coming from the Duvernay basin, then add it to a project named Basin-Wide Duvernay Data.
Next Steps
The next step in the fluid model development is to create a consistent C7+ characterization basis!