Plotting in whitsonPVT
One of the key features of whitsonPVT is the visual component, namely from a plot of some kind. This section covers the key interactive components that are accessible in the different plots.
Zooming in plots
There are many ways to adjust the axis in whitsonPVT. The sections will cover the different ways that you can adjust and reset the zoom.
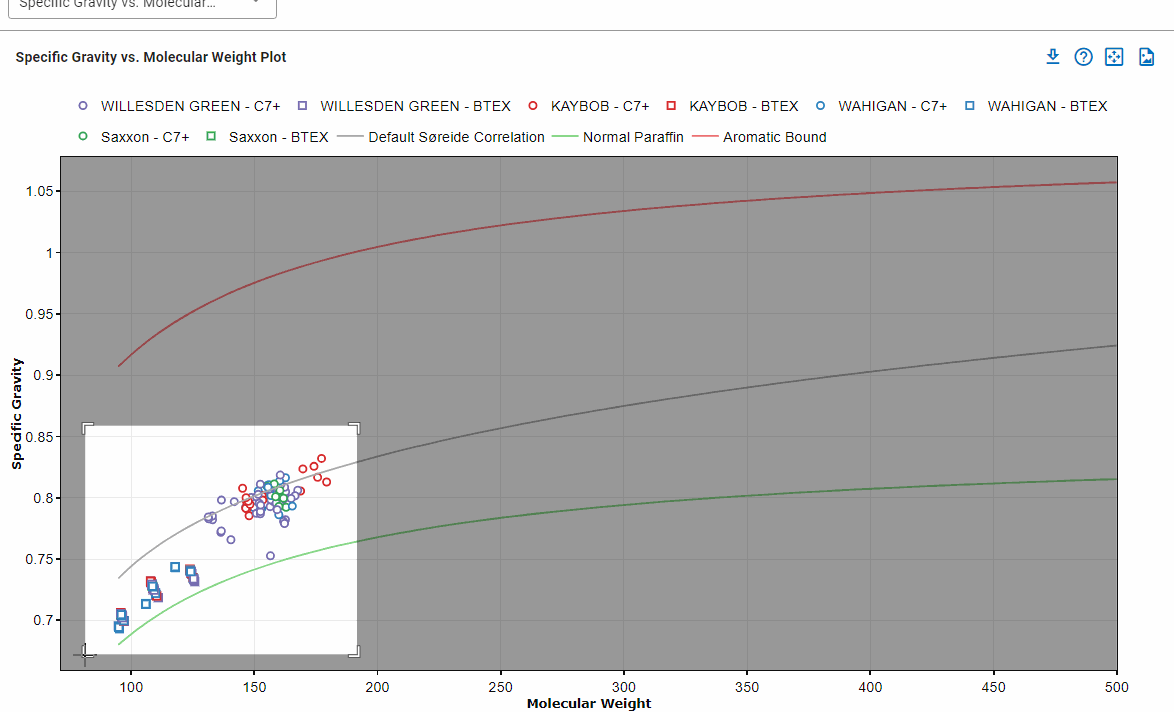
Rectangle zoom
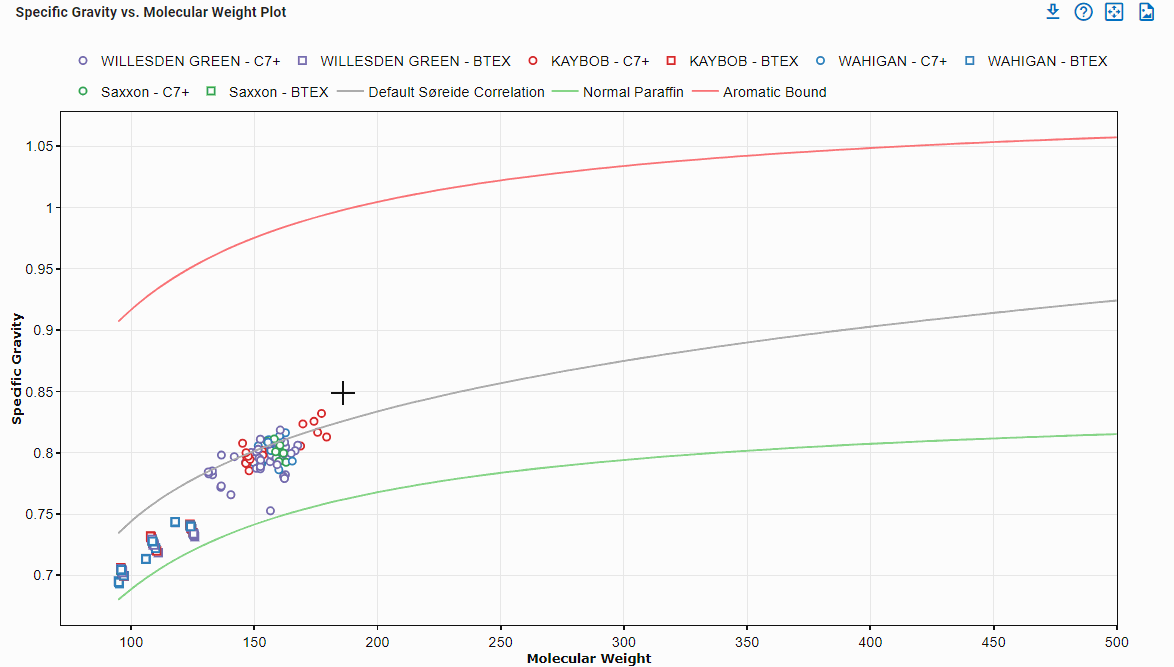
If you want to select a specific rectangular region in a plot, all you need to do is click and drag the cursor to highlight the region that you want to zoom into. An example of this is shown above. To reset the zoom, see the reset zoom section below.
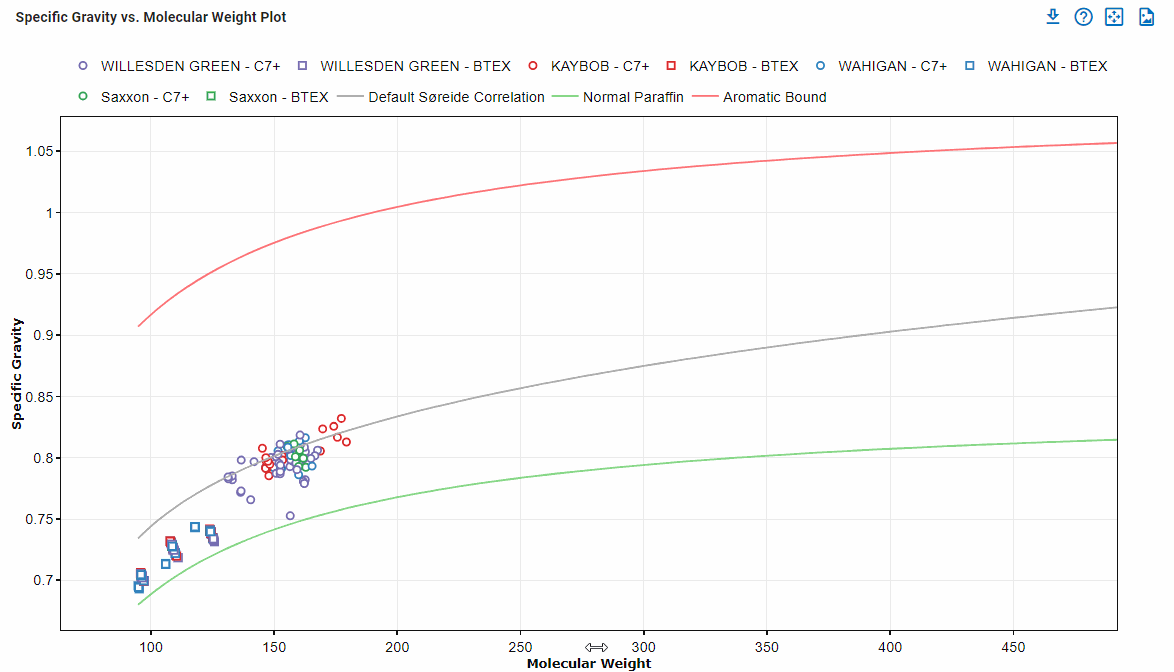
Single axis zoom

It is possible to zoom in only the x- or y-direction individually. To zoom in the x-direction, click the plot area then drag the cursor horizontally left or right. To zoom in the y-direction, click the plot area and drag the cursor vertically up or down. An example of this is shown above. To reset the zoom, see the reset zoom section below.
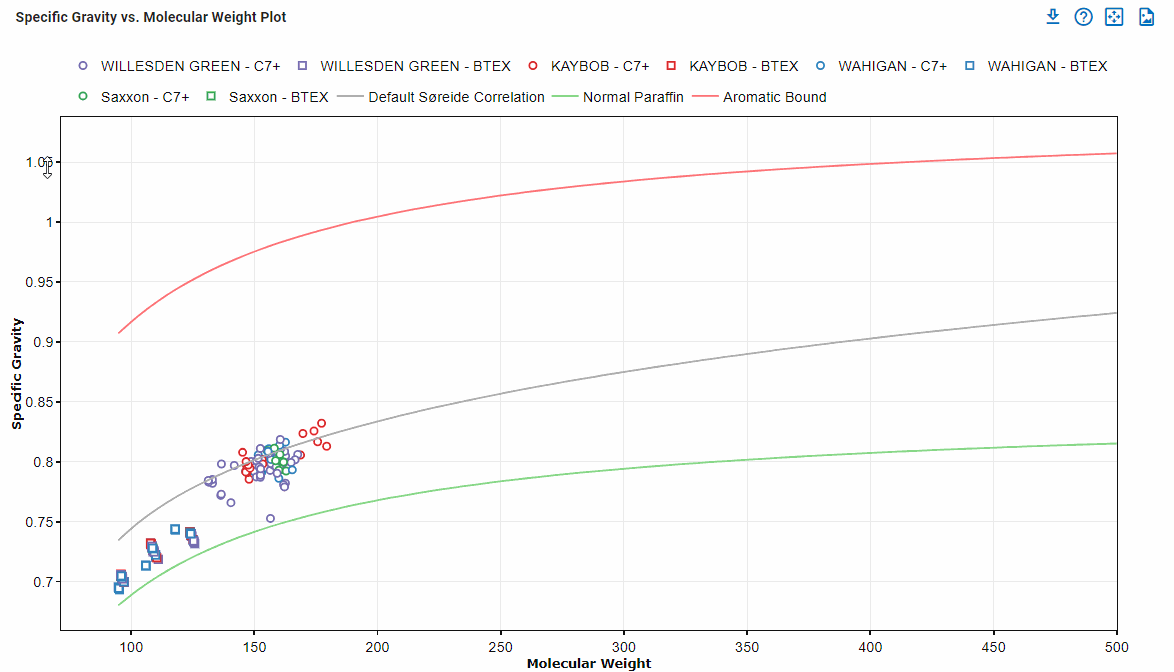
Shift the axis
To shift the x- or y-axis while maintaining the current zoom, click the x- or y-axis near the middle of the axis values, then drag to the left / right for the x-axis, or up / down for the y-axis. An example of this is shown above. To reset the zoom, see the reset zoom section below.
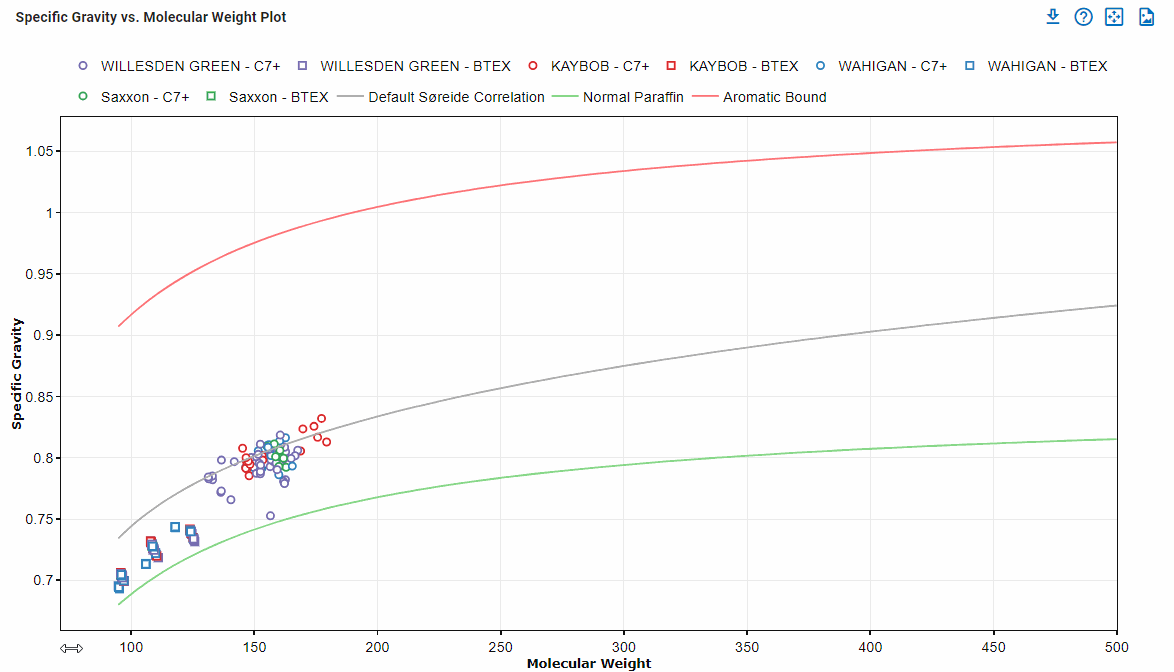
Drag-adjust the upper or lower axis limits
It is possible to adjust the upper or lower limit for a plot while keeping the other limit fixed. This is done by clicking the axis values near the limit that you want to adjust, then drag in the oposite direction. An example of this is shown above. To reset the zoom, see the reset zoom section below.
Set specific axis limits
It is possible to set the axis limits to specific values. This is done by clicking near the corner where the axis limit is. The current axis limit value will appear and you can type the specific axis limit value and store it by hitting enter or clicking outside the plot. An example of this is shown above. To reset the zoom, see the reset zoom section below.
Reset zoom
To reset to the default zoom, you can use either of the following options:
-
Click the reset zoom icon located in the top-right section of the plot.
-
Double click anywhere in the plot area.
Multi-sample plots
In the multi-sample plottin feature, there are certain additional functionalities tha can be accessed from the plots. These are covered in the following two sections. The hotkeys are also shown in the info icon in the top-right of the plot.
Go to sample
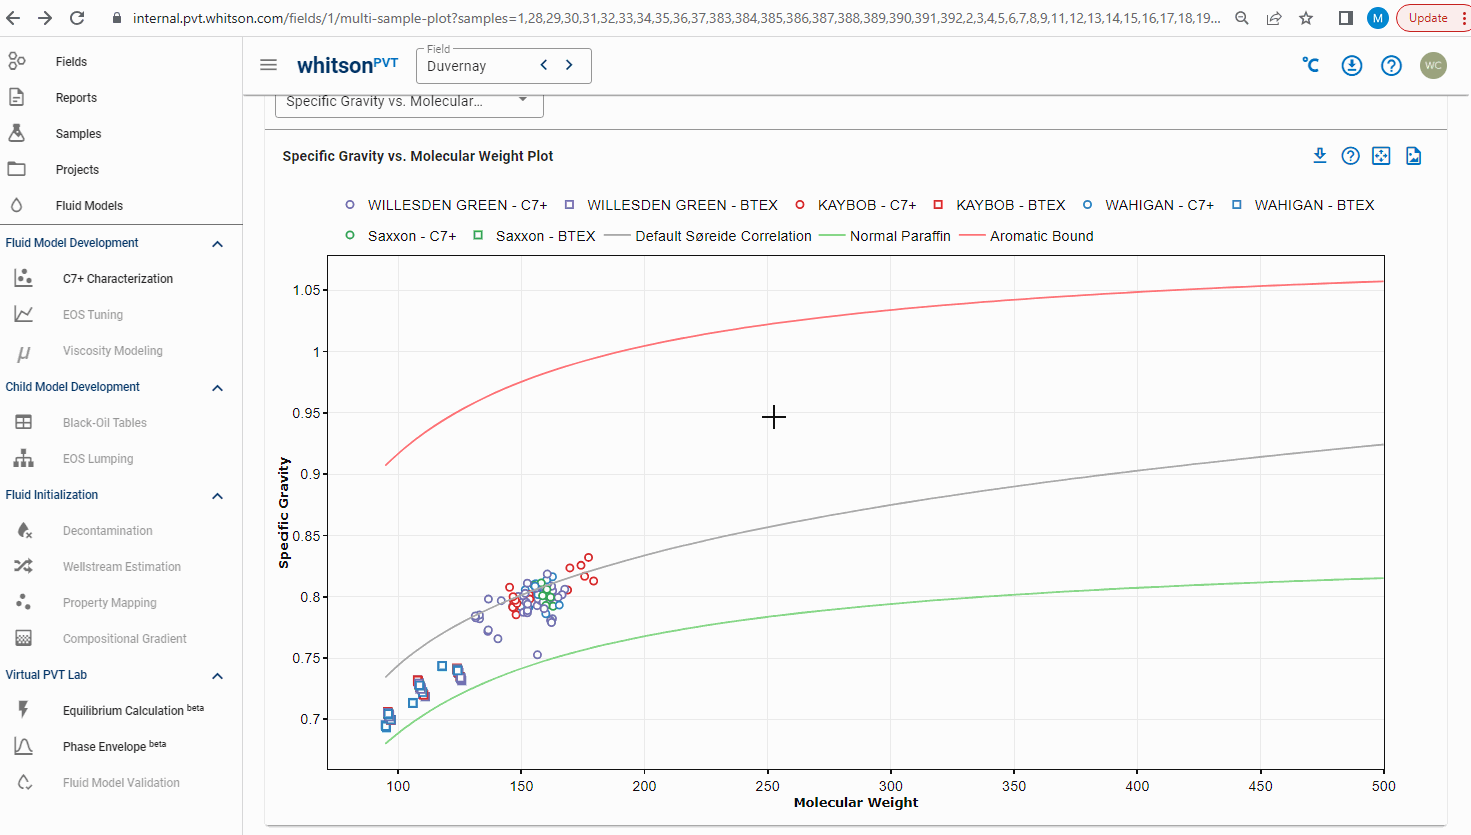
If you want to access a sample's information from inside the multi-sample plottting feature, you can do this by holding "Ctrl" and using the cursor to click on the data for the sample that you want to investigate. A quick way to get back to where you were is to hit the previous page button in the top-left of most web-browseres (usually a left arrow button). An example of this is shown above.
De-select a sample
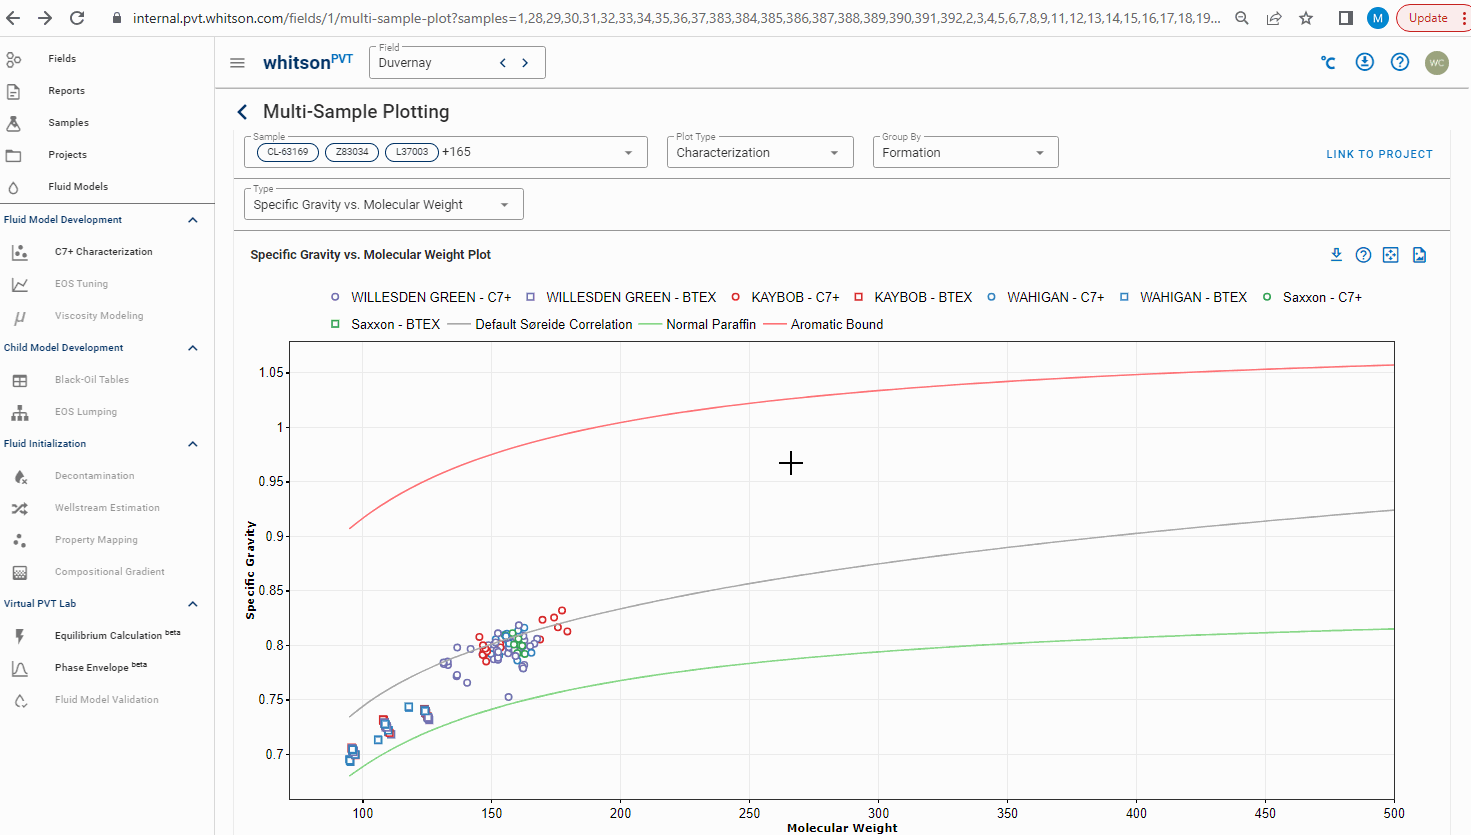
It is possible to de-select data from the multi-sample plotting feature, by holding "Ctrl" and "SHIFT" keys at the same time and using the cursor to click on the sample(s) that you want to de-select. A quick way to re-select all sample is to go to the dropdown in the top-left corner named "Sample", clicking it which will activate a dropdown, and then clicking the "Select All" option. An example of this is shown above.
RMS Plots
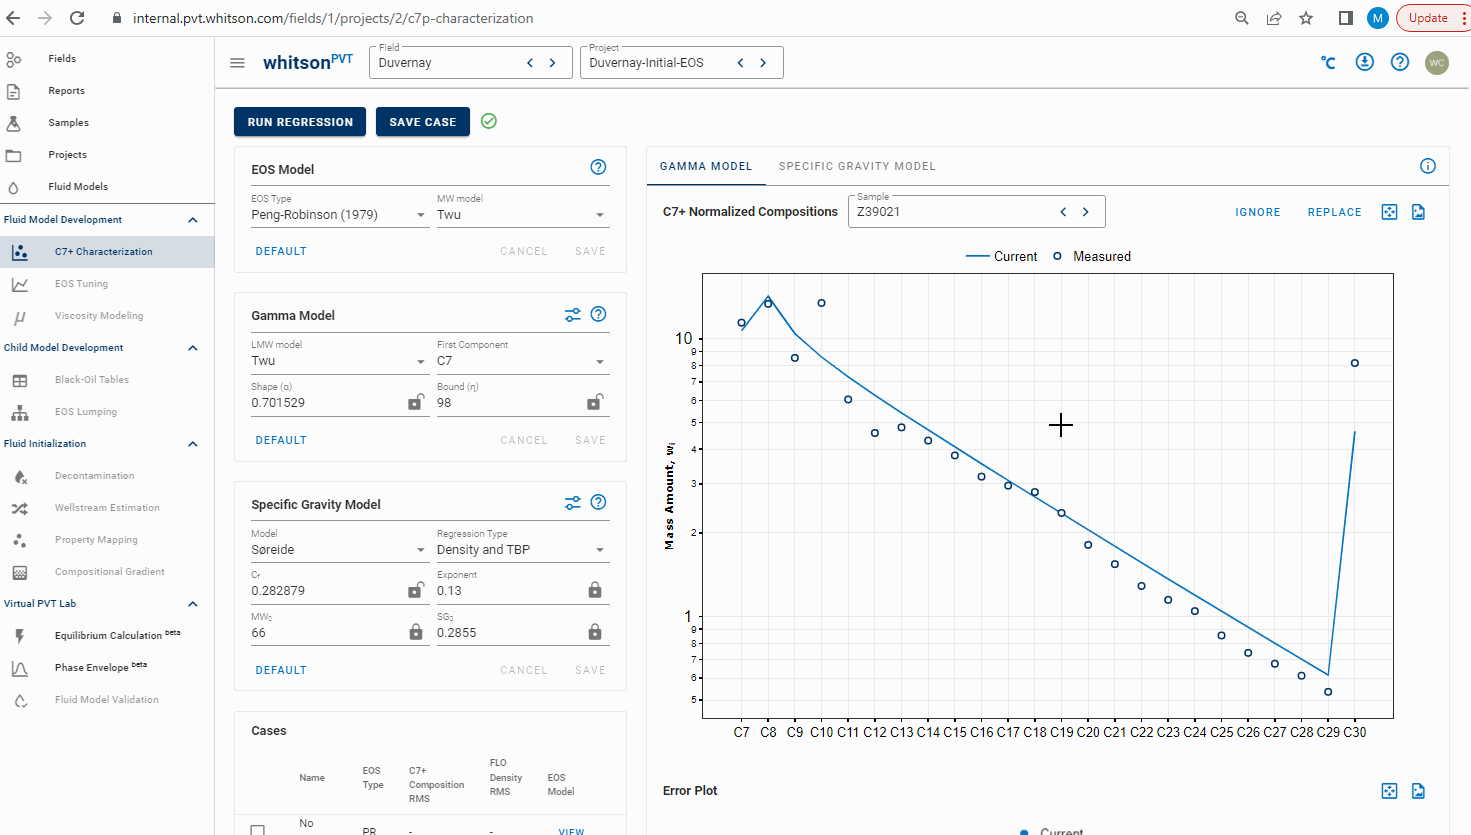
In the RMS or Error Plot in the C7+ Characterization feature, it is possible to select a sample to view in the C7+ Normalized Compositions plot above by simply clicking on the sample's RMS value in the Error Plot below. It is also possible to switch between samples by holding "Ctrl" and using the right or left arrow-keys to switch between samples. An example of this is shown above.